How To Make Miso Paste
Miso is a Japanese fermented food, packed with umami flavour that enhances so many dishes. Miso soup is the most famous use for miso but it can be used in a variety of ways. You can make it yourself – a process that takes a while but produces delicious results. here’s our guide on how to make miso paste.
Did you know that Japan has a national mould? Aspergillus orzae, which is also known as koji mould, is used to make many fermented foods in the far east – notably miso and soy sauce as well as the alcholic brewing that results in sake and shochu.
Miso is comprised of five ingredients: water, koji, soybeans, rice, salt. Actually, there is a sixth ingredient and that is time. You can make misos with a relatively short fermentation period – a few weeks, or you could ferment your miso for up to three years. Koji is produced on rice that has been inoculated with Aspergillus oryzae.In order to make miso, koji rice is mashed with soybeans, salt and water. The mould releases enzymes which break down the carbohydrates and proteins in the rice and soybeans.The miso flavour develops thanks to the interactions between the yeast and the koji.
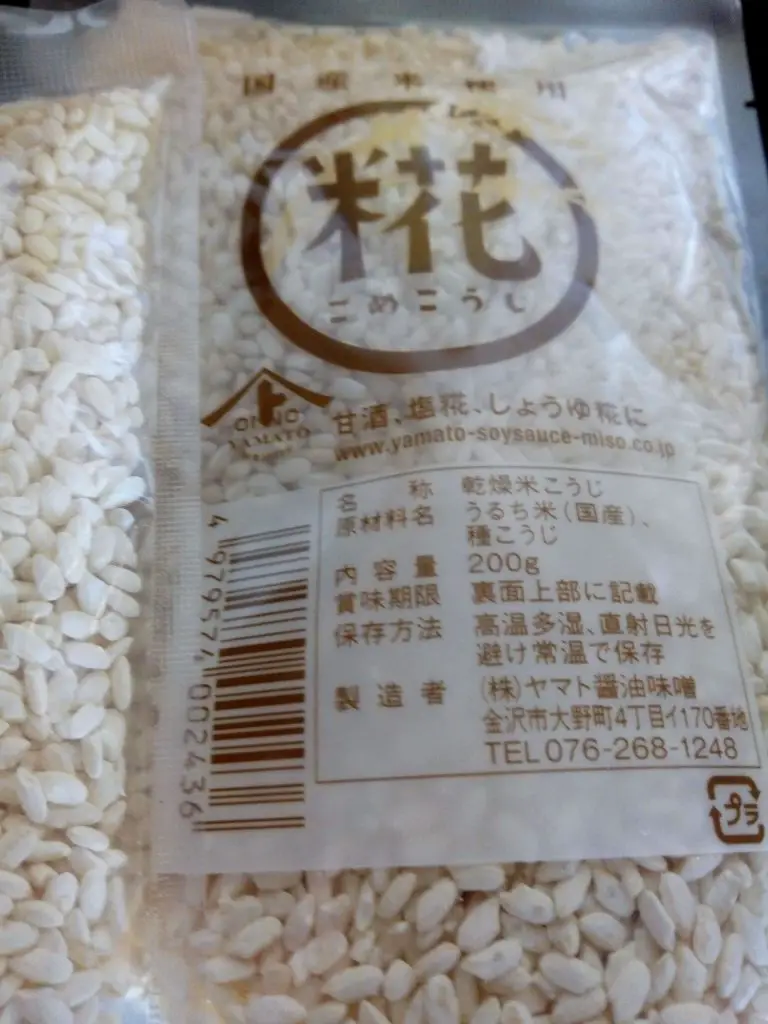
We had long wanted to experiment with making miso but, while it’s easy to get hold of soy beans, obtaining rice koji is more difficult in the UK. We were able to buy some inoculated koji in Japan and have later discovered a number of suppliers in the UK and EU from whom koji can be obtained. We used pre-inoculated koji. If you are really hardcore, you can obtain the spores, then steam the rice and let the mould grow on it to create your own koji.
Miso can be salty or sweet, smooth or chunky – there are so many variations. Although soybeans are the traditional ingredient for the base, you can use different legumes or even other proteins.
This recipe is for a basic all-purpose miso paste. Its basic ratio is 1:1:0.5 cooked soybeans:koji:salt. Making miso can be addictive, so use it as a springboard for all sorts of umami experiments.
How To Make Miso Paste
How To Make Miso Recipe
Equipment Needed
Bowl for soaking the soybeans
Pan for boiling the soybeans or a pressure cooker if you have one
Blender or potato masher to crush the cooked soybeans
Large clean plastic bucket or a large jar with a wide opening
Vodka to clean the bucket
Weights – tin cans in a plastic bag will be fine
Miso Paste Ingredients
You can make greater or smaller quantities, but make sure you use the same ratio.
400g (14oz) dried organic soybeans (this should produce around 1kg cooked beans)
1 kg (35oz) rice koji
400g (14oz) salt – use good quality salt, such as Himalayan pink salt
Method
Soak organic soy beans overnight.
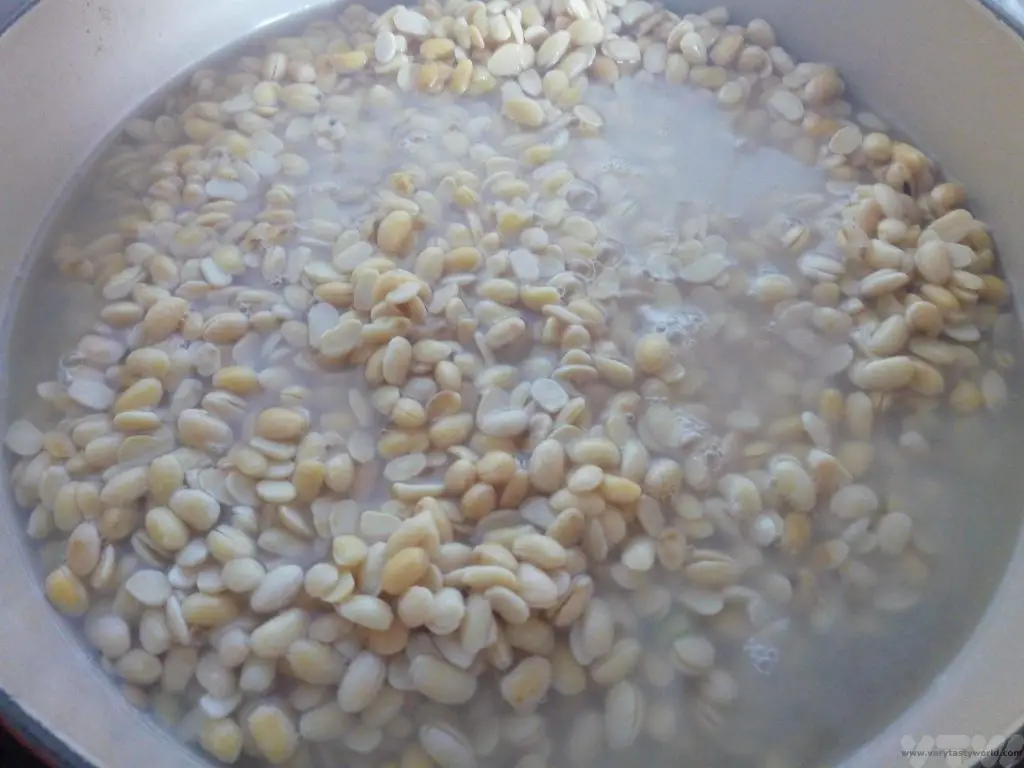
Cook the soybeans in a pressure cooker (for about 30 minutes) or two-three hours if you are boiling them on a hob. Make sure they are cooked until they are soft.
You need to mash the beans. If you want a smooth miso use a blender to get a smooth paste. For a chunky miso use a potato masher. The chunky miso has a nice, nutty texture, so don’t worry if you don’t have a blender.
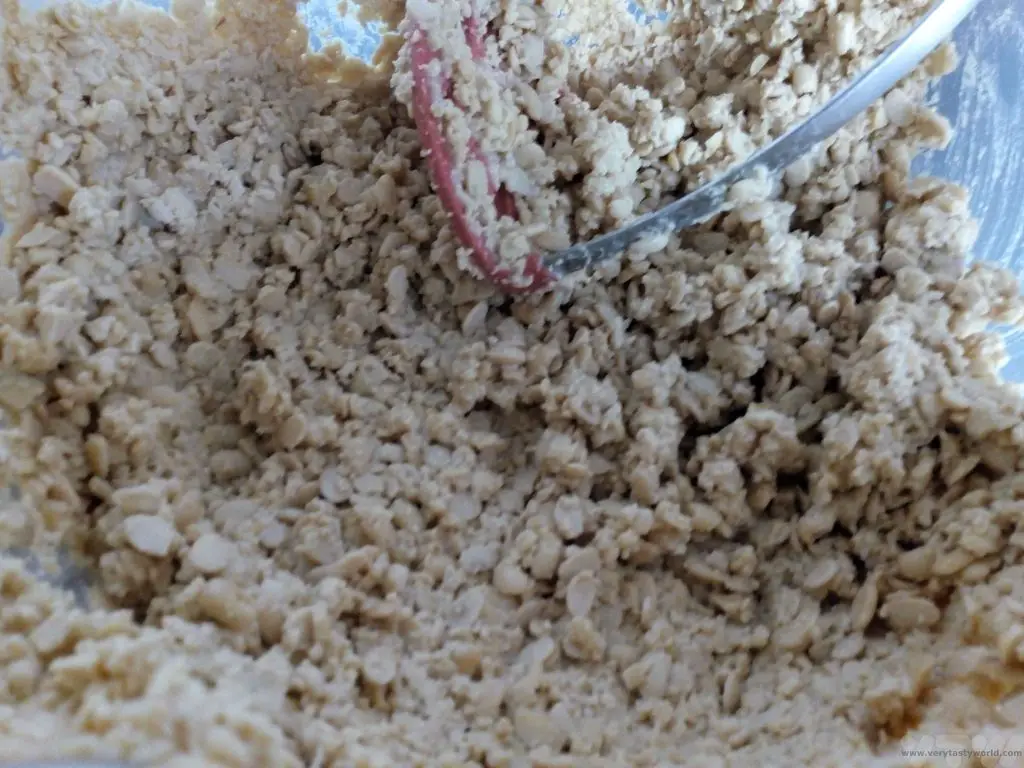
After the beans have cooled mix in the rice koji and salt – giving everything a really good squash together. It’s a very hands-on approach. (Make sure hands are clean, of course, a good way to do this is to spray them with white vinegar.)
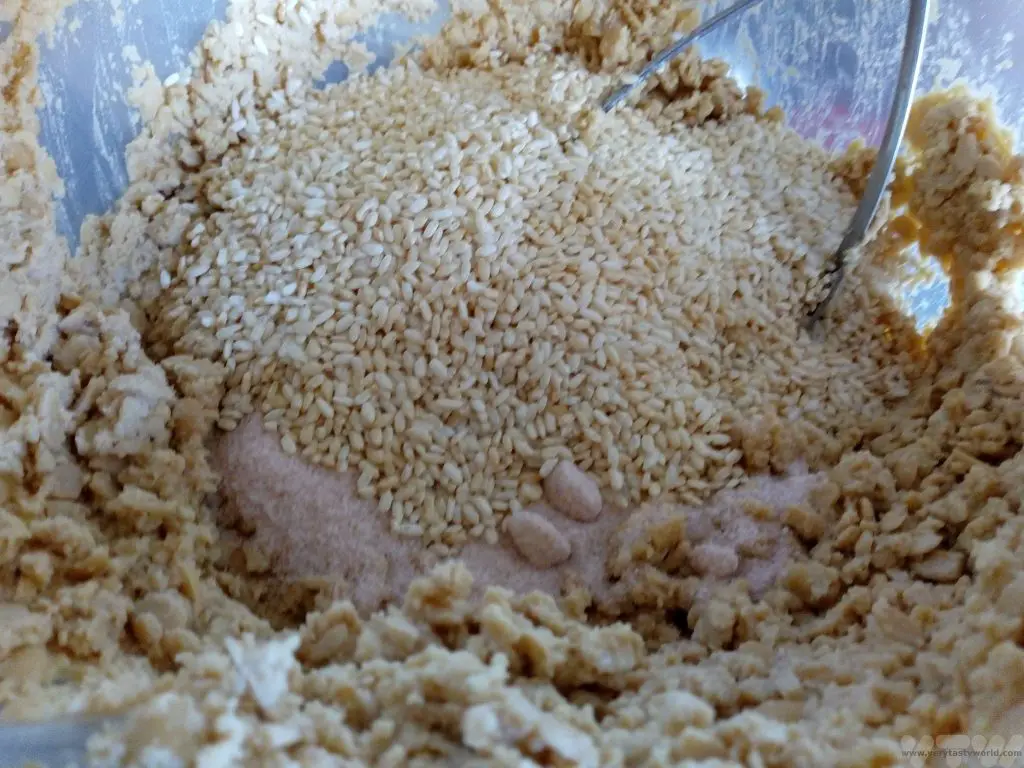
Then get a big container. We found some food-grade plastic tubs but you could use a glass jar with a wide opening. Clean the vessel thoroughly. We wiped it through with (cheap) vodka.
Grab a ball of mixture and throw it into the container. You need to have a good aim. The point of the throwing is that the mix splats together and doesn’t allow air bubbles. It’s really important that the mix is compact. If your splatting ability isn’t as accurate as it could be, make sure you really pack the miso together afterwards – a good squish with your fists will help.
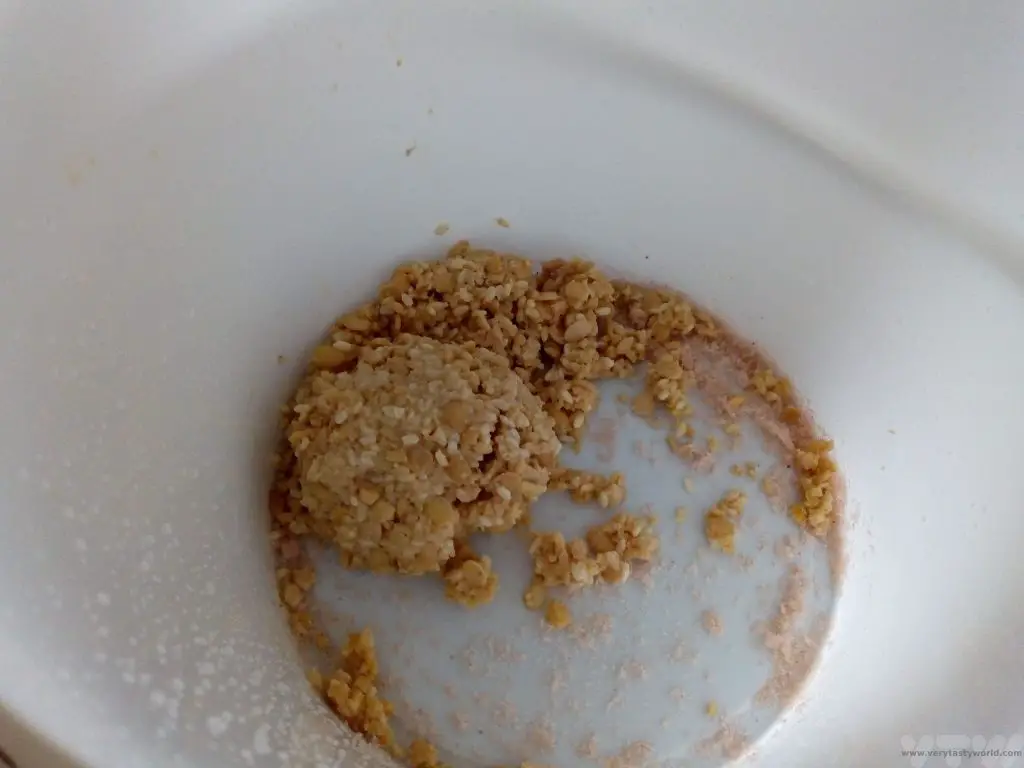
When the mixture is thoroughly squashed and compacted, sprinkle salt over the surface of the mixture, find some heavy weights and crush the miso to push it all together.
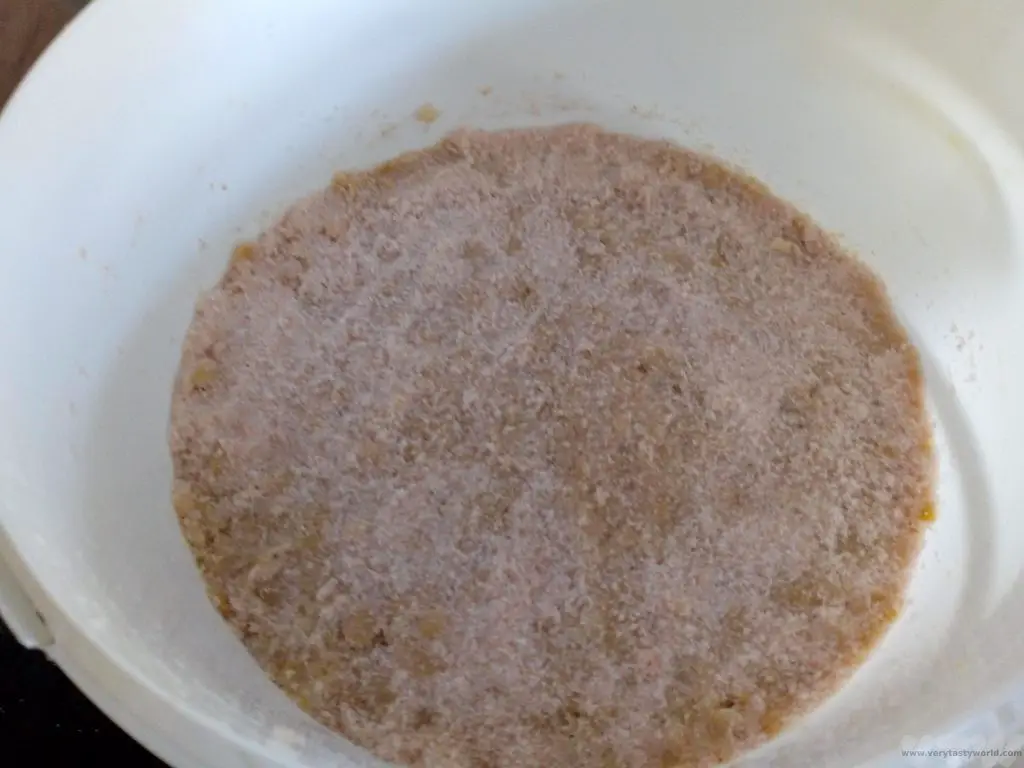
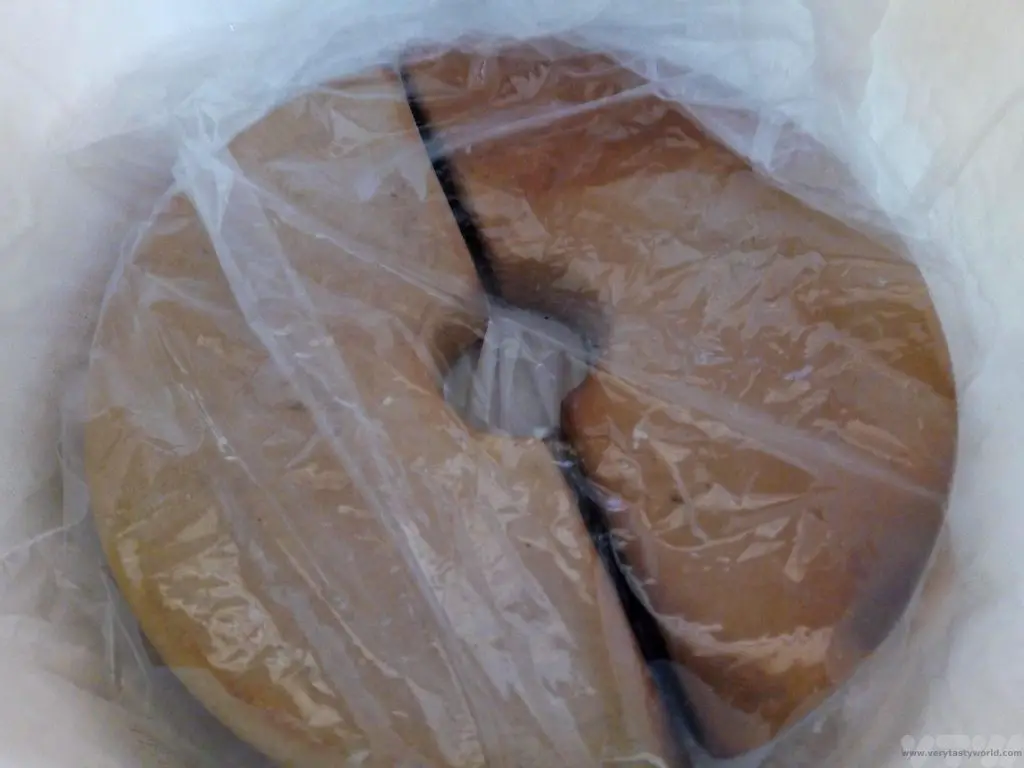
Then it’s simply a matter of time. Miso production in Japan is usually started in spring when temperatures are low. We started in April. The hot, humid summer is essential for the maturation of the miso and this is quite difficult to replicate in the UK, which has summers that can best be described as variable. However, we are lucky enough to have a greenhouse in our garden so our miso spent several days at a temperature that tried to emulate Japan’s summer heat although it didn’t get close to its oppressive humidity. It worked though – after the summer, on opening the lid we could definitely smell that distinctive miso aroma. We knew we were on the right track.
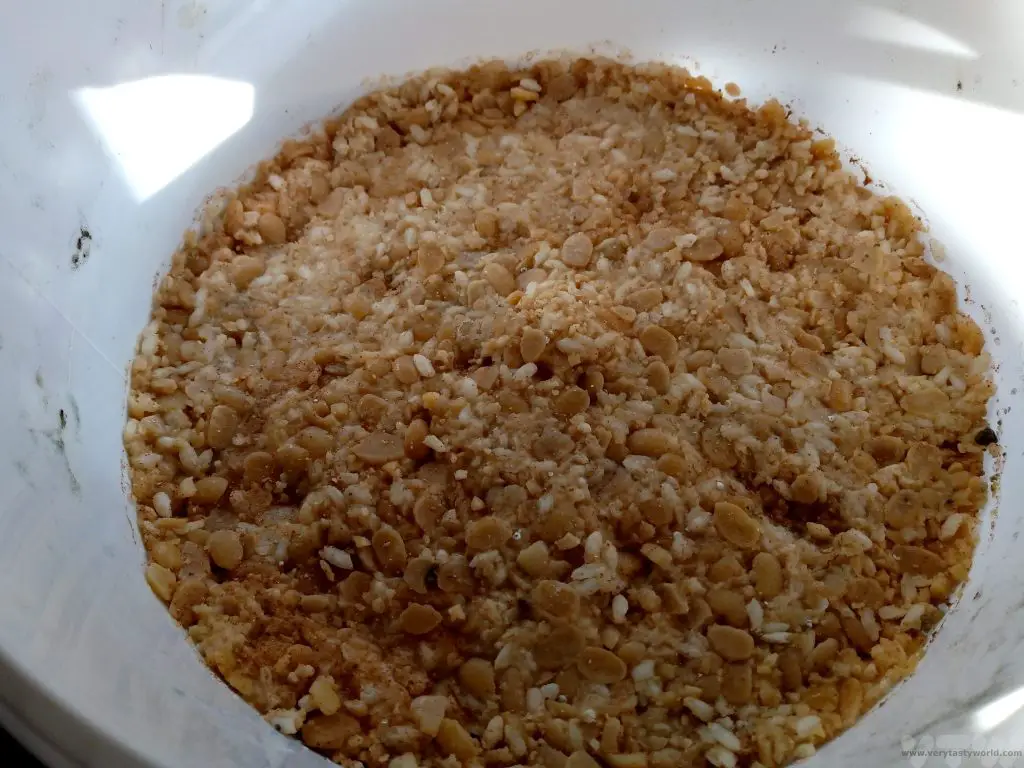
We waited a few more months – until late October – and finally plucked up the courage to scrape the scary-looking surface of the miso and dive in.
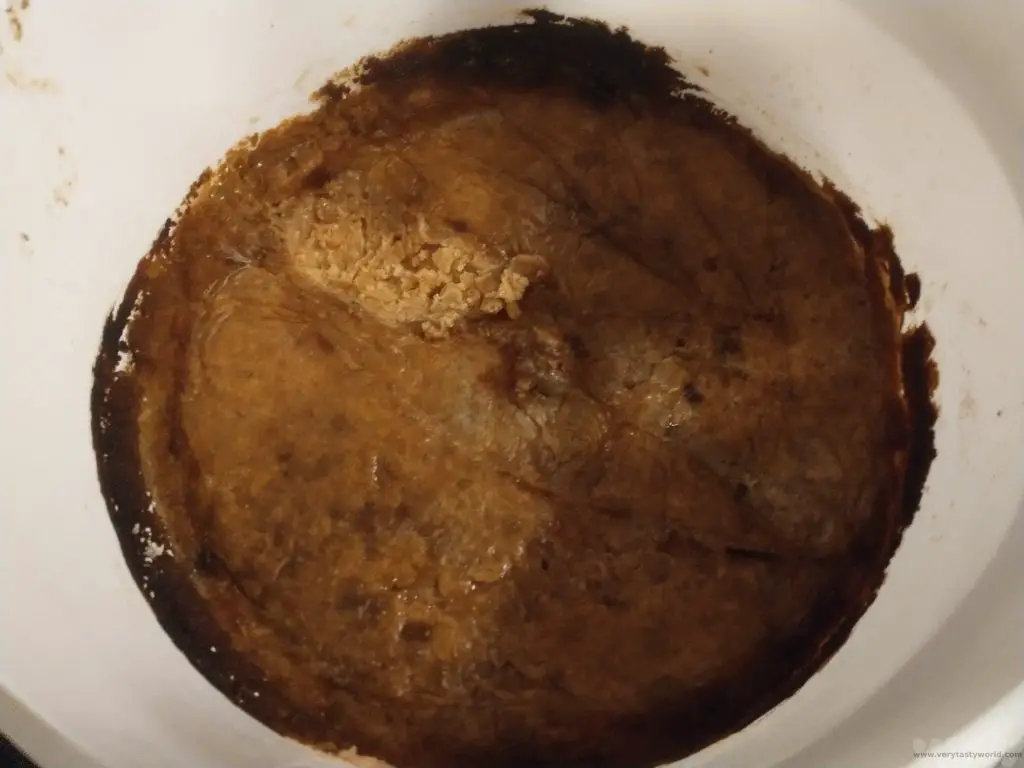
An initial taste revealed it to be really delicious – salty and savoury with a heady aroma. We do a lot of food preservation via a lacto-fermentation process and are generally a bit scared of mould which is considered to be a Bad Thing. If food goes mouldy, it is dangerous and should be chucked. With the miso, the covering of the weight did develop some mould so we were cautious. But it hadn’t affected the food, so all was well.
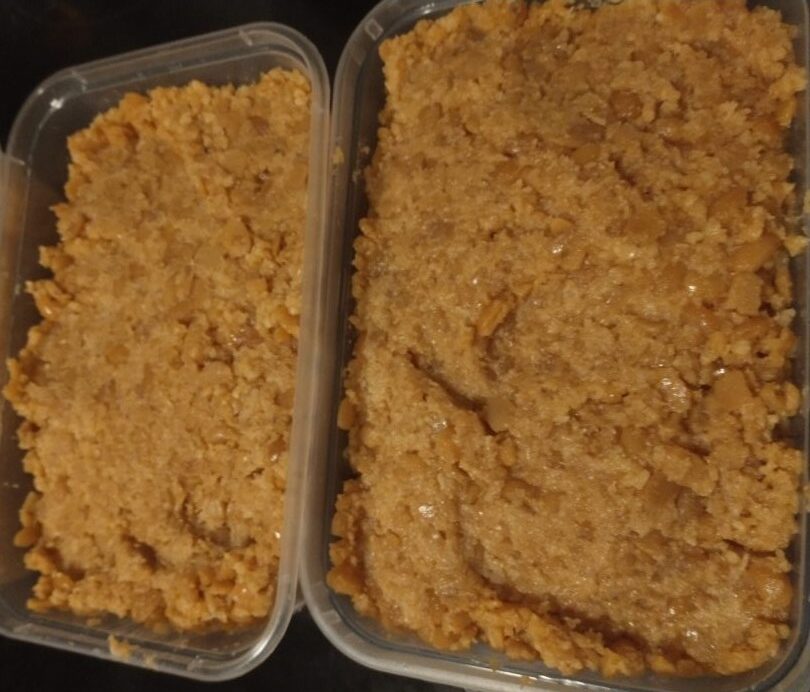
It turned out that we had managed to ferment about 3kg worth! That will keep us going for a while. We carefully washed some old plastic tubs from takeaway food – these are brilliant for storage – decanted the miso from the tub and put it into the fridge for future use. As a fermented food, it should have a very good shelf life.
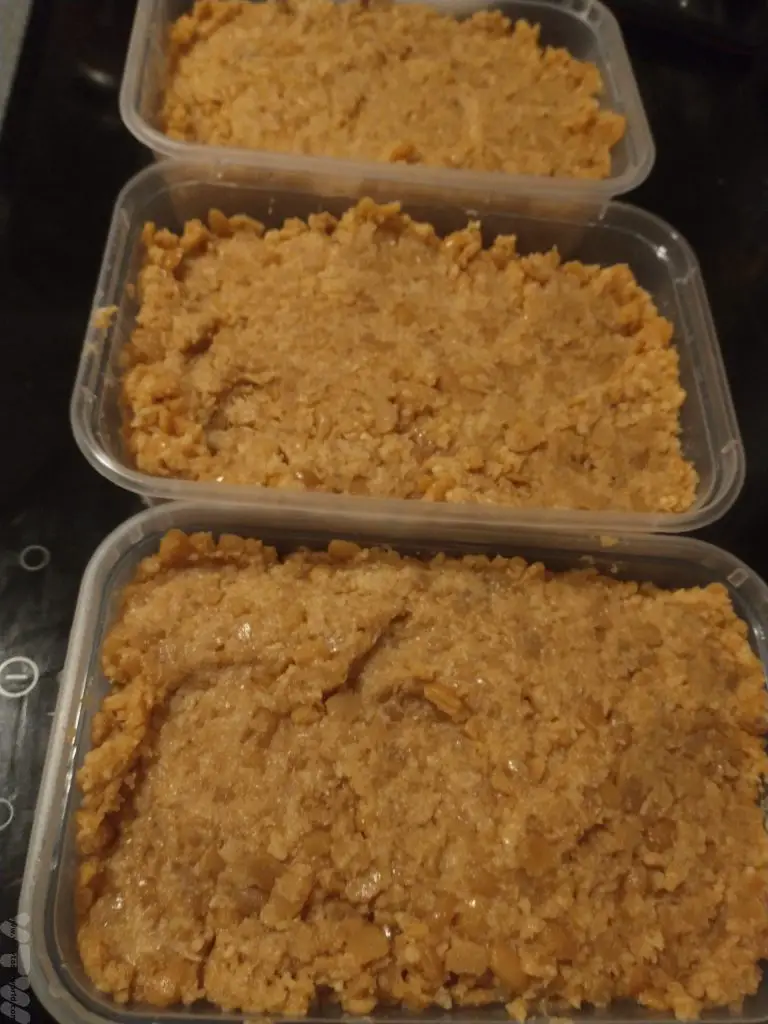
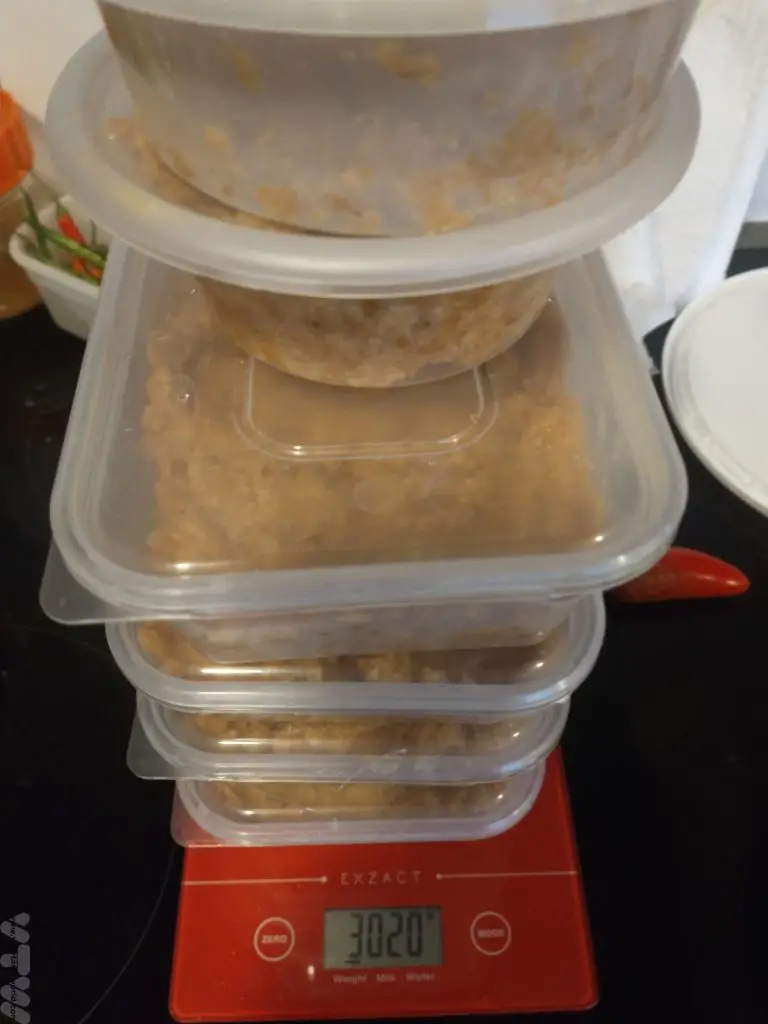
The first thing we made with the miso was soup – the traditional accompaniment to many Japanese meals. Our miso was so delicious that it was possible to make a nice drink by simply pouring boiling water onto the paste, mixing and devouring, but that was too crude an approach.
You can find our detailed recipe for making miso soup here.
This miso will easily last for a year in the fridge. You can also freeze miso for even longer storage.

Latest Recipes
- Brussels Sprout Kimchi Recipe
 It is well known that Brussels sprouts are not the greatest vegetable in the world. But our Brussels sprout kimchi recipe makes them utterly delicious!
 - How To Make Miso Paste
 Miso is an essential ingredient in Japanese cuisine. You can make your own miso which is really tasty. Here’s how to make miso paste.
 - Making Wine from Grapes
 Making wine from grapes is great fun, especially if you have access to a vine. Here’s our method!
 - Damson Preserve Recipe – Damson Jam
 Damson jam is one of the most delicious preserves of autumn. Here’s our easy-peasy damson preserve recipe
 - Fermented Red Onions Recipe
 Red onions are really easy to ferment and they taste delicious – sour and crunchy. Here’s our fermented red onions recipe.